Since I was in a getting ready for spring frame of mind, I figured that I should tackle a bit of a pet peeve of mine when it comes to yard work.
Anytime you see a picture of someone's lawn, whether it be in a magazine spread or a TV show, you will always be greeted with images of pristine fields of green, every blade of grass in its place.
Sadly the reality (or at least my reality) is quite different. In my particular case, my home sits on a rural property that has its sewage situation handled by a septic system that has a weeping bed that expands out into my front lawn. This creates pockets of nutrient and moisture-rich areas on my lawn, meaning that while in some areas I have a lawn that grows at a normal rate, I also have areas where the grass grows like proverbial weeds.
The issue with this comes when it's time to mow the lawn. While I have no issues cutting the "normal" part of the lawn, when I go over the turbo-charged part, I end up with large clumps of grass, making my front yard looking more like a hayfield than a lawn.
It just doesn't look good, and it bugs me to see winrows of grass instead of a pristine, freshly cut lawn.
Other than hiring out a couple of sheep to spend the summer on my front lawn (the neighbors would look at me funny), I wanted to find a solution for this.
One thing I had noticed was that a fair number of new mowers today can be converted to mulch grass versus rather than just shooting it out the side of the mower. The nice thing about mulching is that the mower blades take multiple passes at the grass as you mow, chopping the grass into fine pieces, which makes it easier to break down into fertilizer.
More importantly, it eliminates the majority of the clippings that you would get with a conventional mower - no more hayfield!
After looking at one of these mowers at my local hardware store, I noticed that the mulching effect was done by inserting a plug into the discharge chute of the mower deck, which keeps the grass inside the mower deck, allowing it to get pulverized to bits.
With that in mind, I figured that I could get the same effect with my own mower by building a similar sort of plug,
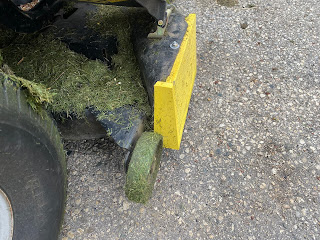
I first started by looking at the discharge port of my mower.
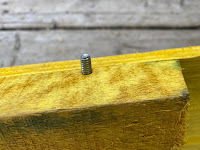
The first thing I noted was that the blade was pretty close to the outside edge of the deck, meaning that I couldn't really have anything installed inside the deck, but instead anything I would make would need to be outside of the opening. However, I did see that there were a few inches of space inside the deck at the top that would be free of the blades, making attaching something to the top of the deck pretty simple - there was even a 1/4 inch hole drilled into the top of the deck (I could have also easily drilled a hole if one wasn't there).
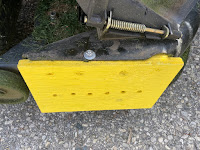
My initial plan is to build a plate that would cover the opening from the outside attached to a thick piece of material that would fit inside the deck, attached to the top.
The first thing was to take a quick measurement of the dimensions of the opening on the mower deck
I also measured the length of the inside of the mower deck at the top.
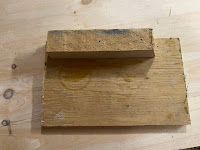
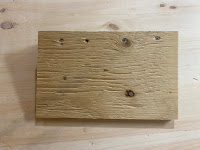
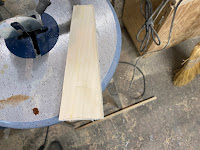
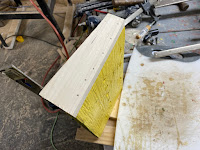
Next, I grabbed a scrap piece of 3/4 inch plywood and cut it to the dimensions that I measured on the mower. After that, I grabbed a piece of 2 x 2 scrap wood and cut it to the length that I had measured for the inside top of the mower.
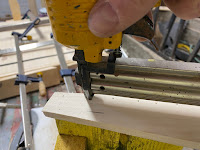
I then put the 2 X 2 along the top edge of the plywood, with one side of the 2 X 2 flush at one corner of the plywood and I secured them in place with some wood screws.
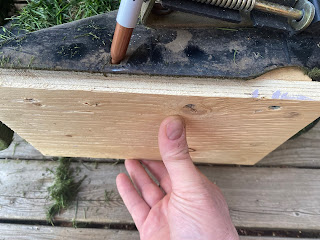
With the major pieces put together, I did a quick test fit before I went too far in the process.
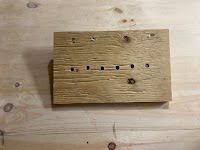
Happy with the general fit of things, I marked the location of the hole in the mower deck on the 2 X 2 block and went back to the shop to drill a 1/4 inch hole at the location that I marked.









No comments:
Post a Comment