

The genesis for this project started last summer when my parents decided to install a new deck made from brown colored pressure treated wood.
While happy with their deck, they wanted to dress it up a bit more with some planters that would blend in with the color and style of the deck.
They wanted something that was a bit more unique than a simple box, but yet would be durable and easy to build and maintain. .
This planter was developed to meet this criteria and can literally be built with 2 pieces of wood and a free afternoon.
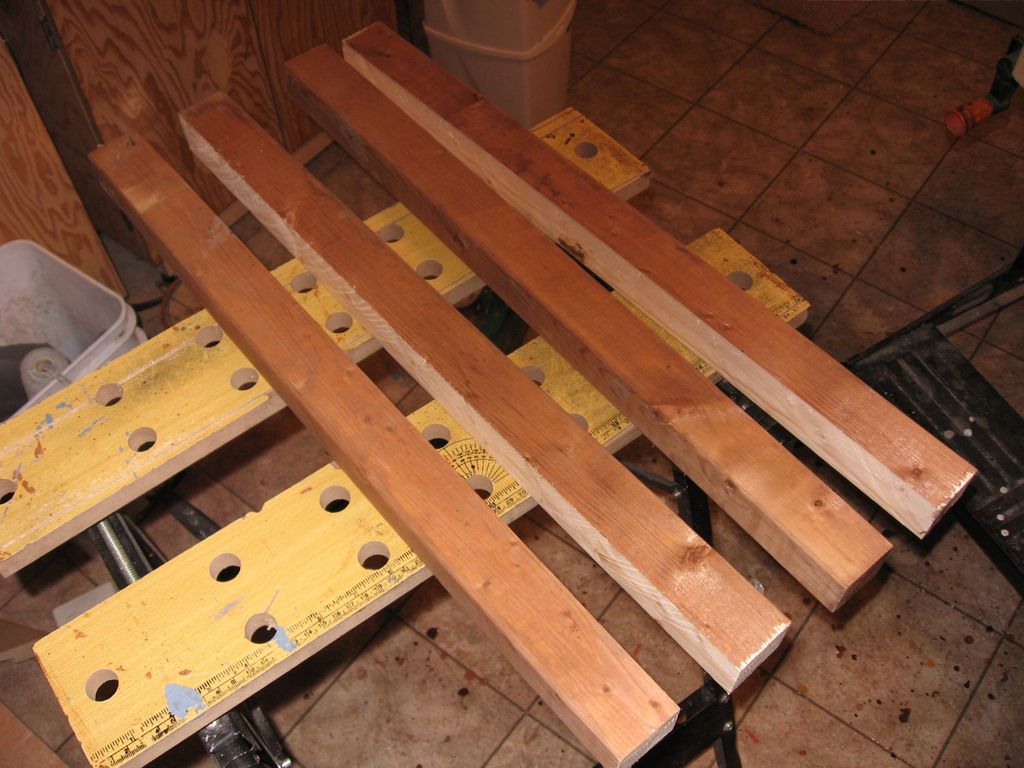
Step 1: Gathering the Pieces
To build the planter you'll need the following materials:
- 1 piece of 2X4 brown pressure treated lumber - 10 foot length
- 1 piece of 2X10 brown pressure treated lumber - 9 foot length
- 24 2 inch deck screws (Brown)
- Finishing nails
- Waterproof Exterior Wood Glue
While I used brown pressure treated wood for this project, almost any type of wood could be used.
In addition, you should have the following tools:
- Circular Saw
- Table Saw
- Cordless (or manual) screw driver
- Nail gun (or a plain old hammer would work too)
- Clamps (optional)
Once your materials have been gathered, you can rough cut the component parts of the planter as illustrated in the diagram above.
The component parts are:
- Part A - Corner Rails (2 pieces) - 2X4X2'
- Part B - Top sill of the planter (1 piece) - 2X4X6'
- Part C - Planter Sides (4 pieces) - 2X10X2'
- Part D - Planter Bottom (1 piece) - 2X10X1'

Step 2: Cutting the side rails
Since 2X4 are in actuality 3.5 inches in width, set your table saw to 1.75 inches on the center of your blade.
Once set, rip the the 2 pieces of Part A so that you now have 4 pieces or wood that are the same width and length (or, 1.75 inches wide and 2 feet long)
 |
| Getting ready to cut the side rails |
 |
| Setting the table saw to 1.75 inches |
 |
| Ripping the boards in half |
 |
| Side pieces cut and ready to install |
Step 3: Cutting the sides
The next step is to cut the tapered sides of the planter
Taking one of the 4 Part B pieces, at one end of the board measure in 2 inches from the outside edge from both sides of the board and make a mark. These marks will indicate the bottom of the planter.
For a better illustration, refer to the cut diagram below.
To cut the side of the planter I use a circular saw and a straight board to serve as a guide fence for the saw.
When using a guide fence, always remember to factor in the bottom plate of your saw. In my case, my saw has a 1.25 inch space between the blade and the outside edge of its bottom plate. As a result I set my guide fence 1.25 inches in from the 2 inch mark at the bottom of planter's side and 1.25 inches in from the out side edge at the top of my planter side.
Once your fence is set up, make your cut and repeat again for the other side of your board. Once you've made your taper cuts for one side of the planter, do the same again for the other 3 sides
 |
| Marking out the side panels |
 |
| Setting up the cut location for the taper |
 |
| Making the cuts |
 |
| Sides and Corners Cut |
Step 4: Forming the Vase Body
Taking Part D, cut a 5.25 X 5.25 inch square piece from it - this will serve as the planter's bottom (In actuality you will likely have enough wood left over to serve as a bottom for another planter)
As a side note: In order to help in the assembly I had found it useful to create a jig that I used to help align the top of the planter (it's especially helpful if you making more than 1 planter!) I created the jig as a 9X9 inch square out of scrap wood.
To assemble the vase body, attach the bottoms of the vase sides to the planter bottom with 2 deck screws on each side. Take extra care to make sure that the sides are square with the bottom of the planter. During this time, in order to make sure that the top of the planter stays together, use the jig and clamps to keep the top of the planter together as you attach the bottom.
Once you've attached the bottom of the planter, sit it upright and align the top of the planter (using the jig as a guide) to make sure that the top is square and that the corner gaps are equal on all 4 sides of the planter. Once you have the planter square. Lock it in by clamping the sides at the top against the jig.
|

 |
| Attaching the bottom to the side pieces |
 |
| Additional view of attaching the sides to the bottom |
 |
| Sides attached |
 |
| Make sure that the top is a square as possible |
Step 5: Attach the Side Rails
Taking the 4 side rails that you have cut from Part A, attach them to the four corners of the planter, filling in the gaps between the 4 sides of the planters.
To attach the sides, first glue the 2 edges of the side rails that will mate with the sides of the planter. After applying the glue, attach the rail to the planter and apply a few finishing nails to then secure the rail to the planter.
For additional strength, use 4 deck screws (2 at the top, 2 at the bottom) to further secure the rails to the planter
Once the rails are in place, remove the clamps and jig holding the top of the planter in position,
At this point the main body of the planter is complete
 |
| Attaching the side rails |
 |
| The main body of the planter is complete |
Step 6: Preparing the Top Sill
Taking Part B and cutting along the edge of the board, cut a slot in the board with the table saw.
Next, reset the fence of the saw so that it's 2-7/8 inches from the blade. Next set your blade height to 3/8 inches.
Once set, with the flat of the board on the saw, cut another slot into Part B.
Note: Before cutting, make sure that where you are cutting will intersect with your previous cut (basically make sure that the ends of your 2 cuts will meet)
When you complete this cut, you should have a 1-7/8 X 3/8 notch in the board.
Next take Part B and cut it into 4 pieces. Each piece will be cut at a 45 degree angle should
- Have the 45 degree cuts point inward
- The larger side of the board should be 16 inches in length
- Make sure the smaller side of the board is the side that contains the notch
 |
| Cutting Diagram |


Step 7: Assembling the Sill
Arrange the frame pieces so that the notched sides of the pieces are all on the side of the frame
Using exterior weatherproof glue, assemble the frame. To add further to the joints, I also use a few finishing nails on the corners to tie the joint together.
Once all the frame corners have been glued and nailed. Align the assembled frame so that it's square and clamp the frame in place. If needed, clamp the corners to ensure that the corner joints are as tight as possible.
Once the glue has dried, remove the clamps and the top sill of the planter is complete.


Step 8: Putting it all Together
To complete the planter, apply exterior glue to the top of the vase body and set the sill - notched side down, on the top of the vase body.
Make sure that the sill sits squarely on the body of the vase.
Secure the frame to the vase body with finishing nails and the planter is ready for use
With the use of pressure treated wood, there is a fair bit of flexibility with what you can do with the planter. You can fill the planter with dirt and have plants growing from it directly from the planter or you could use the planter as a"cover" for a plastic pot - the options are up to you!


No comments:
Post a Comment