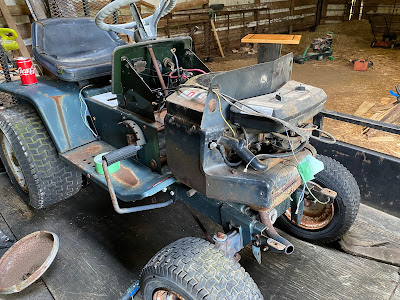
Last week I dragged home an old garden tractor that I had picked up at an auction for around 100 dollars.
In some respects, this old tractor was a bit like Charlie Brown's Christmas tree. It certainly didn't look very good, but if you looked at it hard enough, you could see something that could really be something special, perhaps all it really needed was just a little bit of love.
One thing that it did need for sure was some engine work. The tractor had a vertical twin-cylinder Briggs and Stratton engine on board that seemed to turn pretty easily and showed some signs of compression when I turned the engine over by hand at the auction.
However, when I got the tractor home, I hooked the tractor up to a battery and turned the key, with no response from the tractor. That in itself wasn't really surprising since I suspected a few malfunctioning safety switches would prevent the solenoid from cranking the starter.
However, when I applied power directly to the starter, I was greeted with a very loud grinding noise coming from the engine. Not a very good start to the project.
After some investigation, I more or less determined that the starter was the source of the noise, and definitely needed to be replaced.
While that wouldn't seem to be a big thing to replace, I didn't have a spare starter on hand, and quite frankly I didn't want to fork out a lot of money for a new one.
I did, however, have a spare 2 cylinder engine on hand.
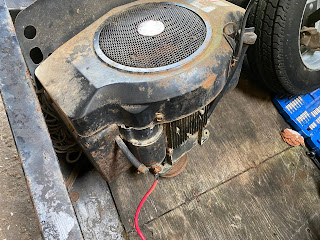
This particular engine was a 16hp 2 cylinder engine that I rescued from a John Deere LT166 that was on its way to the scrap yard when its hydrostatic transmission went out. This engine purred like a kitten when I took it out of the tractor.
This particular engine was a V twin design and was much newer than the engine that was currently in the tractor.
So with that, I decided to try my hand at doing an engine swap. I will keep the old engine around, on the off chance I can get my hands on a new starter at some point in the future.
With that plan, I rolled the tractor into the shop and started disassembly.
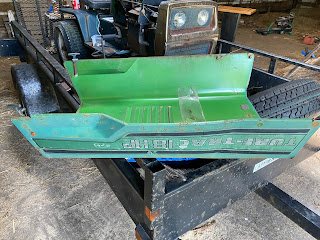
To get to the engine bay I first needed to remove the hood and front grill of the tractor. I was actually quite surprised on easy the tractor was to work on. For the most part, all the structural components of the tractor were fastened together with half-inch nuts and bolts.
Removing the hood was really just a matter of removing 2 bolts from the grill
The grill itself was attached to the frame of the tractor with 4 bolts and 2 support rods that were attached to the top of the grill.
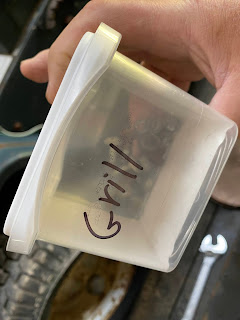
After a few minutes of work with my socket wrench, I also had the grill removed. However, I did have to disconnect the headlight wires first, which I then labeled with some masking tape to make things easier when I put things back together again. Also for the sake of making life easier, I also stored all my nuts and bolts in labeled plastic containers.
With the grill and hood removed, the engine was now a lot easier to work on.
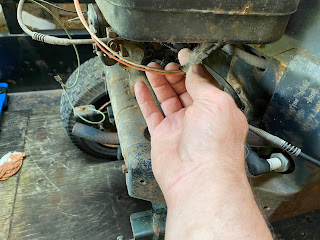
To remove the engine, I first started by disconnecting the electrical connections for the engine. For this particular engine, there were 4 main things to disconnect:
- The ground cable - which is connected to the tractor's frame with a nut and bolt
- The headlight and battery charging cables - for this engine, it was a 2 pin plug that was easily disconnected by unplugging the wires from the engine
- The kill wire - this wire was used to turn the engine off, this too had a plug, so it was just a simple matter of unplugging it.
- The Positive cable from the starter to the starting solenoid - a few seconds of work with the wrench sorted that out.
A quick look at the empty engine bay was very encouraging. The whole area was completely free of rust. In fact, the paint still looked new in spots.
And so I now had a blank canvas to install my new engine. From start to finish, I think the whole process took about an hour to do.
I do suspect that it's going to take me more than an hour to put the new engine in....








No comments:
Post a Comment