In the last post I rehabilitated an old digital photo that was doomed to the e-waste bin at my local land fill. While I was quite pleased on how the old photo frame turned out, there still was one slight flaw with the frame - it only had the ability to hang on the wall. I really wanted something that could sit on something like a bookshelf.
The answer to that dilemma was resolved by creating this small "artist's" easel out of some of the remaining pieces of oak that I had left over from building the frame.
The nice thing about it is that this easel can be built in less than a few hours.
 |
| Picture frame easel |
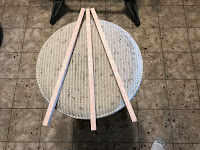
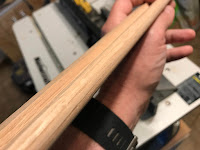
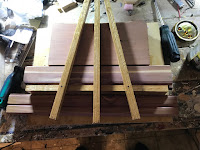
This project started off with three 3/4 inch wide pieces of half inch Oak that were cut to a length of 14 inches which will serve as the legs for the easel.
In order to have a traditional easel, you need to create a triangle effect with the 3 wooden legs where the wooden legs come to a point at the top and the 2 outer legs form the bottom points of the triangle.
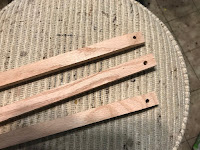
To make this effect, I started off by cutting an one inch long 10 degree taper on the inside top edges of the outside wood legs of the easel.
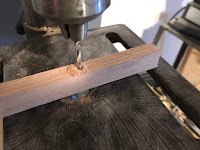
With the tapers cut, a 1/4 inch hole was then drilled through the 3 wooden legs at the top.
With the top holes drilled, a 1/4 inch hole was then drilled into the fronts of the two outer legs of the easel. The holes where drilled 1.5 inches from the bottom of the legs.
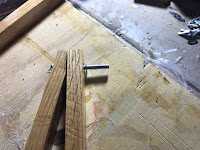
At this point we can assemble the 3 legs of our easel. With a 2-1/2 inch 1/4 inch bolt, some washers and a wing nut, put the three wood legs together by joining them together at the top with the bolt. Make sure that there is a washer between each piece of wood.
The wingnut is then used to tighten things down.
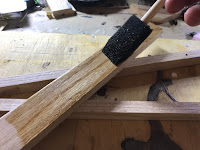
With the legs of the easel now built, we need to build a base for the photo frame to sit on. To make the base, I used a 12 inch long piece of oak that was about 2 inches wide.
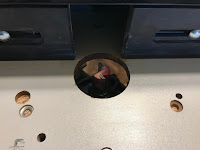
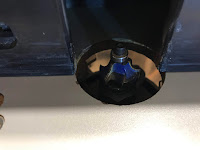
Using the router, I cut a 3/4 inch slot into the middle of the Oak piece at a depth of about 1/4 inch using a 3/4 inch straight bit.
To finish things off I then changed over to my round over bit on the router and rounded over the front edge of the oak base.
With all the wood pieces cut out and ready for final assembly, I took the opportunity to give everything a couple of coats of spar varnish.
Once the varnish was dry the base was attached to the two outer easel legs with a couple of 3/4 inch screws via the holes that we drilled through the outer legs earlier..
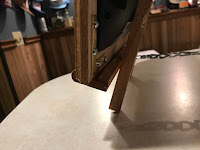
At this point the easel is effectively complete. But I had a fear that the bottom leg might have a tendency to slide back, causing the photo frame to fall flat on its back.
To solve this potential issue I took a 11 inch length of small chain. I attached one end of the chain to the back leg of the easel and attached the other end of the chain to the back of the easel's base. The chain was secured to the easel with a couple of small screws.
From this point on, the easel is done. To use the easel, the frame simply sits into the slot that has been cut into the base.
The only thing left to do now is to put the easel and frame in it's place of honor and watch the photos flash by.
The nice thing about this little project is that you could build several of these in one go, guaranteeing that all your photos can have a classy perch.















No comments:
Post a Comment