In my last post, I had talked about the veritable treasure trove that I found when I came across a sign pointing the way to some free wood pallets.
After doing a couple of more hunting and gathering trips for pallets, I finally lucked upon some pallets that were 8 to 10 feet long courtesy of a local fencing business.
Once I got the pallets home and disassembled, I ended up with a good supply of 8 and 10 foot 2X4 boards which were used as the stingers for the pallets.
Earlier this summer, I moved my shop to a slightly larger space (don't worry, it's still a small workshop so I won't be changing the site's name any time soon). Because of this move, I now had the opportunity to finally have a proper workbench and allow me to retire the old Black and Decker Workmate that had served me faithfully for many years.
Since I was fairly keen to try a project with recycled pallets, I figured that a basic workbench would be the perfect first project.
My criteria for the workbench was pretty simple. It needed to be large and strong enough to hold any large pieces that I may be working on. It also needed to be at a height that would allow me to work without too much strain on my back.
I determined that a workbench with 4 feet by 5 feet working area set at a height of 3 feet would be the best fit for me.
From there I drew up some quick plans.
I first focused on building the legs of the workbench.
While I only had stringers to work with, I really needed to have the legs as thick as possible in order to give the workbench strength.
To accomplish this I decided to make each leg out of two stringers joined together in order to make a 4" X 4" leg.
First I cut out eight 3 foot lengths of a stringer.
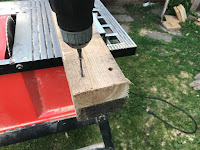
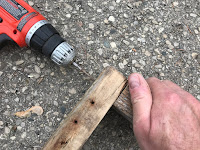
Once I had the boards cut out I then assembled the 4" X 4" legs of the workbench by joining two of the stingers together with 2.5-inch deck screws.
With the legs of the workbench assembled, I then started constructing the top framework for the workbench.
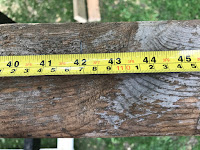
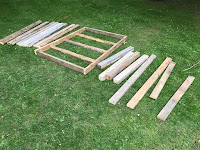
To build the frame, I started by cutting out two 5 foot lengths and two 42 inch lengths of a stringer.
I followed this up with cutting out three more 42-inch boards which will serve as the internal structure of the workbench's top.
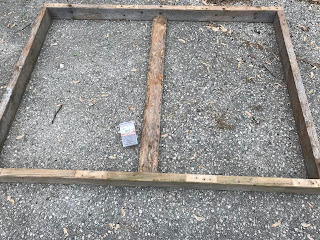
With the parts cut out, I started assembling the framework by joining the 5-foot stringers against the ends of the 42-inch stringers, securing everything together with 2.5-inch deck screws and making sure that the corners of the frame were as square as possible.
Next, I took a 42-inch stringer and placed it flat along the bottom of the frame, so that I had a 1.5-inch gap between the top of the frame and the top of the stringer that I had just placed. This gap will be filled in by boards that will be used as the working surface of the workbench later on.
I centered the stringer in the middle of the frame and secured it in place with deck screws.
I then did the same with the remaining two 42 inch stringers, placing them roughly centered between the ends of the frame and the center stringer.
Finally, I cut out twelve 57 inch lengths from my remaining stringers, which will be used as the working surface of the workbench and two more 42 inch and 60-inch stinger which will be used as support braces for the workbench.
I then gave all the parts a couple of coats of paint and transported everything to the new shop for final assembly.
To assemble the bench I first attached the legs to the top frame of the workbench by positioning the legs to the inside corners of the workbench frame and secured them in place with deck screws.
While I was attaching the legs I made sure that the top of the legs was flush to the top of the workbench frame and that the legs were as perpendicular as possible to the frame.
Next, I attached the 5 foot and 42-inch braces to the workbench legs with deck screws, positioning the braces approximately 1 foot off of the bottom of the legs.
Once the legs were installed, I then started to attach the work surface to the frame of the workbench.
There are a lot of options on what you can use as a work surface for the workbench (for example, a sheet of 3/4 inch plywood would work well), but in keeping with the idea of using pallets, I used the twelve 57 inch lengths of pallet stringers that I had cut out earlier.
I started installing the work surface by shortening 2 of the stringers to 49 inches and installed them between the legs that I had just attached to the workbench frame.
After that, I then laid down the remaining 10 stringers onto the workbench frame and secured them all in place with deck screws.
Once all the top stringers were secured in place, the workbench was complete.
I've been using the workbench now for a couple of months. So far I've been quite pleased on how well it has held up from all the punishment I've been putting it through during the course of building my projects (including other projects using wood from pallets).











No comments:
Post a Comment