After all planning and construction, it's finally time to put everything together and get things ready for George to move into his new home.
Since I took a modular approach to the build, assembly is pretty straight forward.
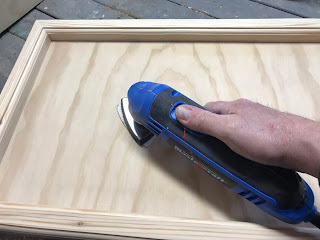
The first I did while things were still apart was to give everything a thorough sanding (I could have sanded when everything was assembled, but I just find it easier to sand everything in separate, smaller pieces)
Much like the construction of the stand's components, I assembled the aquarium stand from the top down.
The top of the stand is attached to the body with a combination of wood glue and screws.
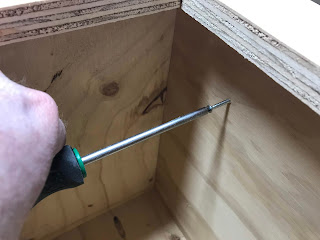
The screws will be applied from the inside of the body and will attach up to the bottom of the top.
I first started by drilling four small holes through the top of the aquarium stand's body.
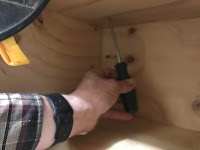
Then I then started four 1.5 inch long screws into the holes I had just drilled from the inside of the body. I made sure that the screws didn't poke through the other side of the top.
Flipping over to the top of the aquarium body I then applied a liberal amount of wood glue and I attached the aquarium top to the top of the aquarium body. When attaching the top I tried to center it as much as possible on the body.
I fully centered the top on the body by using a measuring tape, making sure that the overhang of the top was equaled on both sides of the body.
Once I had the top in the correct spot, I clamped the top in place and permanently secured the top to the body by screwing in the screws that I started earlier all the way through.
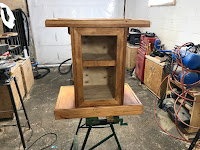
Once the glue had dried, the top was now permanently attached to the body. It's now starting to look like an aquarium stand.
Working my way down, the next thing on the list was attaching the base to the bottom of the aquarium stand body.
The process is basically identical to what I did for attaching the top to the body. I first drilled four holes into the bottom of the body of the stand and like before, started four screws into the holes from the inside of the body.
I then applied some wood glue in the center of the base and I set the aquarium body on top of the base, taking care to make sure that the body was centered on the base.
Once everything was in place, I then screwed the screws all the way through, securing the body to the base.
Once the glued had dried, the stand was basically assembled,
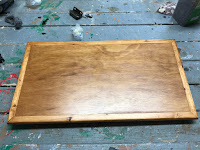
Next, I applied three coats of urethane and stain to the stand and the door, making sure to give everything a light sanding with fine steel wool between coats.
The final step of the assembly process was to add the door.
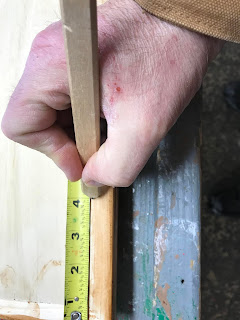
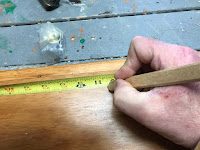
First I marked the location for the hinges for the door by flipping the door over so that the back was facing up and I made a mark four inches in from each side of the left side of the door.
Flipping the door around so that the front of the door was facing up again, I then made a mark in the middle of the door about one inch in from the edge of the door that was opposite of the edge that I had marked for the hinges.
This mark will be the location for the knob for the door.
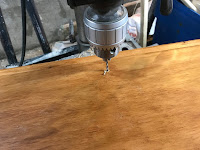
I then drilled a small hole that that location using my drill press.
Flipping the door over again I then installed two self-closing hidden hinges at the spots that I had marked on the door, securing them in place with the supplied screws.
Next, I placed the door in the opening in the front of the aquarium stand and positioned it so that it was centered on the front of the stand.
When I was happy with the position of the door I then secured the hinges to the aquarium stand with screws, completing the installation of the door.
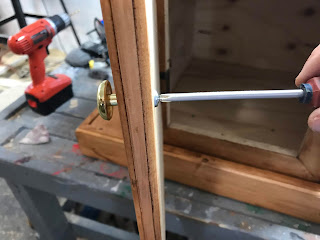
The final step is to install the knob for the door which is installed by inserting a screw through that hole in the door and tightening the screw on the knob.
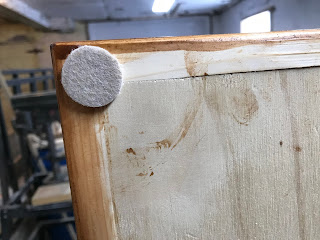
To avoid that "clunking" noise whenever the door is closed I also install a couple of felt pads on the back of the door.
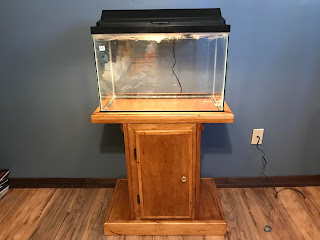
The only thing left to do was to set up the aquarium, add some water and...
move George to his new home.
I am quite happy with the results. Looking back at the original drawings that I made, I see that I did follow the design fairly closely but I did make some minor changes as I when along. The main change was using a thick shelf for strength in the body, removing the need for 2X2 post beams in the corners. I also went with one door in the front instead of the two I had in the plans.
So far George seems quite happy and really that is what makes it worthwhile.










No comments:
Post a Comment