With the major components of the aquarium stands now built, I just needed to do one more thing before I put everything together,
As I mentioned in my initial design sketches for the stand, I wanted to have a door to cover up the front storage opening in order to hide all of George's food and supplies.
To construct the door, I first took measurements of the opening in the front of the aquarium stand.
Using those dimensions, I then cut a 3/4 inch sheet of plywood to that size.
At this point, the plywood panel could very easily fit into the opening of the aquarium stand, and by simply adding some hinges and a door handle would make a very serviceable as a door.
But in this case, I wanted to dress things up a bit and opted for adding a bit of a decorative border around the outside edges of the door, making it a little oversized to the opening which would have the door sitting out from the face of the aquarium stand, making it "pop" out a little.
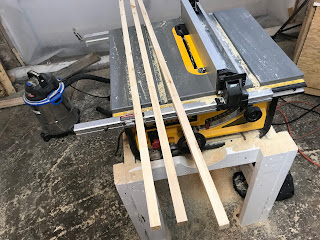
To make the border I first cut out a few lengths on 3/4 inch X 3/4 inch strips of pine, making sure that the strips were long enough to cover all four sides of the door.
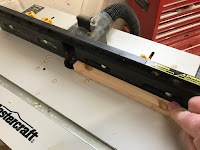
I then rounded over one side of the strips using a round-over bit on my router table,
Next, I cut the border to size so that were they were a couple of inches longer than the sides of the plywood panel.
I then cut the corners of the border at a 45-degree angle, making sure that the long side of the angle cuts was on the same side as the rounded over side of the border. I also made sure that the short end of the angles met at the corners of the plywood in order to ensure that I would have nice tight corners when I attached the border.
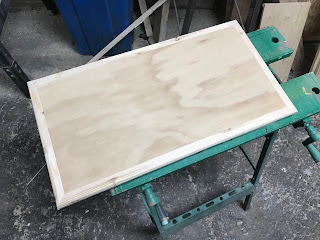
The last step was to run a bead of glue along the edge of the plywood panel and I then attached the border in place, making sure that the 45-degree cuts formed tight 90 degree corners.
Once everything was in place, I then held everything in place with clamps until the glue dried.
Once the glue had dried, I had a finished door,
This formally ends the construction phase of the aquarium stand, the next step is to assemble all the pieces and finish up the project.


No comments:
Post a Comment