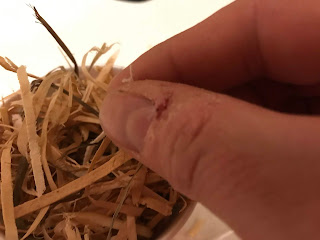
Other than getting splinters in my fingers, the other most common by-product of all my work in the shop is compiling a rather large collection of sawdust and planer chips that eventually piles up on the floor around my saws and other tools that I use to nibble away at wood with.
For me, this is a waste product, something to be swept up and dumped into the garbage can to be recycled or composted.
Occasionally, some of my shop waste has been used as mulch material around some of the flower beds around the house here. But for the most part, the woodchips and sawdust were mainly looked at as trash.
For the past few years, I have been volunteering with our local Scouting group. A little while ago the group did a project where they made a campfire starter out of some wood chips, candle wax and a small paper cup that you would normally use for mouthwash. I was actually pretty amazed at how simple it was to make one of those things, and was even more amazed at how well they worked in starting a campfire.
My parents primarily heat their house and as long as I can remember, they were always commenting that they sometimes had to put in a bit of effort to get the fires burning in the mornings.
Thinking back on what the Scouts did, and looking at another pile of sawdust on the shop floor, an idea struck...
The intent of this project is to create a firestarter that could be used to start a fire in a wood stove or fireplace without the need for paper and kindling.
The firestarter that the Scouts made was fairly small in size in order to make them as portable as possible when out on a camping trip. The issue with those firestarters was that due to their small size, they only lasted for maybe 10 minutes.
For the purposes of this project, the intent is that the firestarters could be stored near your fireplace and wood stove. With these criteria, the firestarter can be made a bit bigger, making them last longer - up to about 30 minutes of burn time.
With the abundance of wood chips from the shop and with a few other cheap parts, I was able to make one of these firestarters for around a dollar each.
To make a firestarter I first collected the following items:
- A large pillar candle - I got one from my local dollar store for about 3 dollars. This should be good for 3 to 4 firestarters
- Candlewick - I got a length from my local craft store, but I am also able to reuse the wick from the pillar candle
- An 8 oz paper snack cup - I got them from my local grocery store
- A handful of wood chips - fresh from my workshop
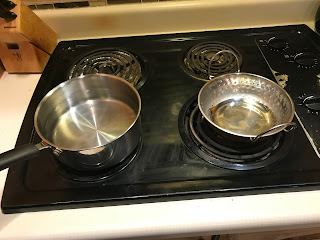
To make the firestarter I also needed to raid my kitchen for a medium-sized pot and a slightly smaller saucepan (preferably one with handles).
In order to melt the wax, you need to make a double boiler. A double boiler usually consisting of two fitted saucepans. The larger saucepan is partially filled with water and is brought to boil. The inner saucepan uses this indirect heat to melt wax for candlemaking.
A double boiler is used with wax since the temperature rarely rises above 212°F (100°C), which prevents the wax from scorching.
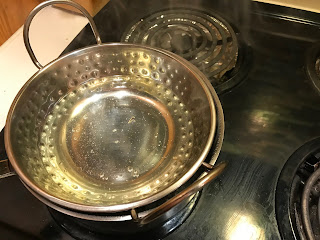
To melt the wax candle, I filled the larger saucepan about halfway full of water and placed the smaller saucepan inside the larger saucepan. I then put the candle into the smaller pan and set my stove to medium heat.
After that, I just needed to wait for the candle to melt.
While I was waiting for the wax to melt I took a good amount of my wood shavings and packed it into the paper bowl such that the wood shavings were packed in as tightly as possible in the bowl.
I made sure that the bowl was as full of shavings as possible
While I was filling the bowl with shavings, the candle should have started melting. When about a third of the candle had melted, I removed what remained of the candle from the pan.
Remember I plan to use the wax from this candle for about 3 or 4 fire starters, so a third of the candle will be all I will need for making my one firestarter.
I also turned down the heat on the stove to low, in order to keep the wax in the pan in a liquid state.
I then cut a few inches of candlewick and stuck through the wood shavings in the center of the bowl.
When placing the wick I made sure at least a couple of inches of wick were sticking out from the top of the bowl.
With the bowl filled with chips and the wick in place, I then removed the pan of wax from the stove and carefully poured the wax into the bowl until the wax reached the top of the bowl.
After that, I let the bowl sit until the wax cooled and solidified.
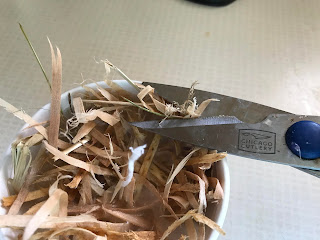
When the wax cooled, I then took a pair of scissors and trimmed any excess pieces of wood chips from the top of the firestarter, just to make things look neat.
I now had a complete firestarter, the only thing to do now is to go start a fire.
I've made a few of these for my parents and so far they have been very pleased with how easy it is to start a fire in their woodstove with it.
For around a dollar to make, it sure cuts down a lot of hassle trying to get warm on those cold mornings.


No comments:
Post a Comment