Showing posts with label tools. Show all posts

Tuesday, June 29, 2021

Making a Super Simple Planer Knife Sharpener


A simple way to sharpen planer knives

Last week, I talked about my neverending frustration in keeping the blades on my surface planer nice and sharp, which was creating a situation where my favorite tool was quickly becoming my most hated tool. 

After searching in vain for an off-the-shelf sharpener, I quickly came to the realization that I needed to make my own tool if I ever wanted to sharpen my knives.  Thankfully, I found out online that many people had the same issue that I had, and I was able to find many tutorials on how to build a jig that should make sharpening knives quick and easy. 

I found that everyone had their own special approach to building their jigs, all with varying degrees of complexity. Most jigs were designed so that they would be able to handle a variety of different-sized planer knives, so often they had built-in locking features that locked the knives in place as you sharpened them. 

In my own particular case, I am always going to use the same size knife in my planer, so I didn't really need to have a jig that needed to accommodate different blade types, which meant that my jig should be fairly simple to build.  

Sunday, June 20, 2021

The Bane of My Existance


Stupid dull planer knives

Well perhaps that's a bit too strong, but I do have a bit of a love-hate relationship with my planer. 

I love how quickly and easily it levels out wooden boards to make them nicely flat and perfect, saving me many hours of sanding. That is until the knives on my planer start getting dull. 

Sunday, August 30, 2020

The Necessary Evil - Shop Maintenance

Changing the saw blade

Last week I was ripping some stringers from a pallet for a new project that I was working on when my table saw made a bit of a clunk and shot out a couple of sparks - it would appear that I had forgotten to remove a nail from the stringer before I started cutting.

Obviously, the saw blade didn't really like that too much and proceeded to tell me this by making an absolute mess of the cut on the next board that I ripped.

Effectively I wrecked the blade and it needed to be replaced.

Changing a saw blade on a table saw is a fairly straight forward affair of loosening the nut that attached the blade to the spindle of the table saw's motor, except for a slight twist.

If you tried to just take a wrench to the nut, you will quickly find that the blade will just spin freely as you turn the nut. No matter how dull the blade is, it is still not a good idea to have something like that near fingers that are in close proximity, nor can you just hold onto the blade with one hand while wrenching with the other - a sure-fire way to get a nasty cut.

To do it properly, you need to wedge in a piece of scrap wood between the blade and the body of the table saw.  The blade digs into the wood, and not your hand as you loosen the nut.

Switching saw blades is just another part of regular shop maintenance,  that thing you need to do from time to time to ensure that your fingers stay attached and your projects look decent.


Sunday, May 24, 2020

How Did I Get Here? - A Woodworking Journey

Let it be said that I never claimed to be an expert


A little while ago I was asked by a reader how I got to where I am today - puttering around with wood and electronic bits and posting about my misadventures for the world to see. 

That did give me a bit of a pause to be honest, mainly because my journey into the shop has been a bit of a meandering one with lots of curves and dead ends.

I guess my interest in things wood and electronics had separate points of origin with the two interests meeting because of a very basic reason - being as cheap as possible, I was forced to use what I had on hand because I didn't really want to spend a lot of money. 

Sunday, December 29, 2019

Making a Hydraulic Clamp

With 2 tons of pressure, it does a very effective job of clamping

Recently I wanted to try my hand at turning some bowls on my lathe using some hardwood scrap pieces that I had leftover from other projects. I wanted to create the bowls that had an alternating layer of different wood types in order to give the bowl an interesting appearance. 

With my first couple of bowls, I created the bowl blank by layering the wood pieces on top of each other and clamping everything together as tightly as possible with standard wood clamps. 

On the whole, everything glued together so I had a relatively solid piece of wood to work with, 

However, I did find that I sometimes got fine little gaps between the glued layers.  The downside of this was that when I turned the bowl, I would sometimes see daylight shining through those gaps in the bowl's side.   

While it is something that the typical person would likely not notice, and I could "cheat" by using wax to finish the bowl (the wax would fill in the gap), I really wanted  to be proud of my projects, and seeing a flaw, no matter how minor, always seems to bug me. 

I think the issue with the gaps is that no matter how hard I clamp the wood, I do not seem to be able to apply consistent pressure along the entire surface of the piece that I was gluing together. 

Sunday, December 8, 2019

The Robot Router - Trying out a 3018 CNC Router

3018-pro CNC router

I'm not sure how I arrived at the notion that I needed this thing.

I suppose it really stemmed from the fact that I needed a new "For Sale" sign for the collection on wooden wonders that I had sitting on my front lawn.

In the past, I had used one of those cheap plastic signs that you can pick up at the hardware store for a few dollars, but the one that I had been using blew away in a wind storm recently.

While the old sign did serve its purpose, I have been wanting to class things up a bit and have my sign be more in keeping with what I was selling.

Now, there are a few ways to make a sign out of wood.

The easiest way is to just slap some paint on a wood board, but let's be honest, my free hand lettering abilities leave much to be desired.

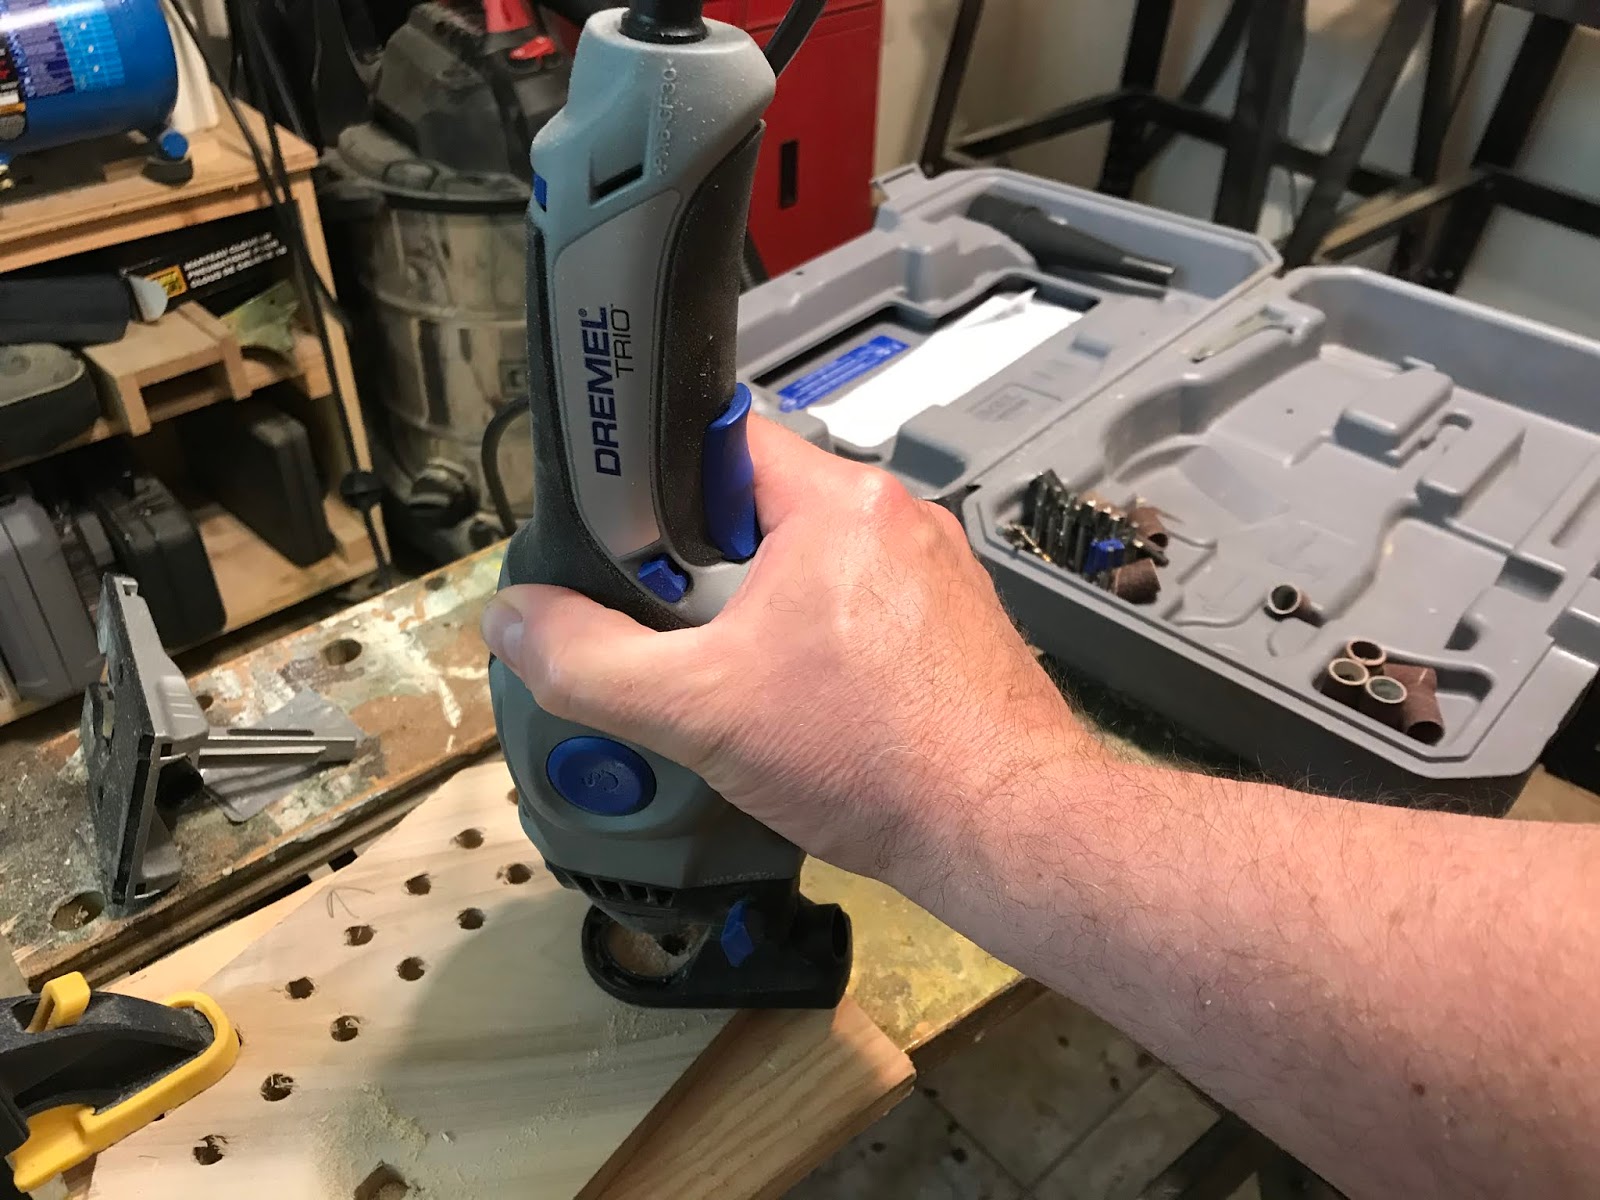
Alternatively, I could also cut in the letters freehand with my Dremel Trio, which is something I had done before and was seriously considering before a chance encounter with an ad that popped up on Facebook one day (I swear Facebook has some sort of app that reads your thoughts).

The ad was for a small CNC router that could be bought for only a couple hundred dollars.  Previously, I had always assumed that CNC routers that were large hulking things that could only be bought for the few thousand dollars, so seeing one for a tiny fraction of that leaped out at me.

Sunday, April 21, 2019

Turning Bowl Blanks

Turning wood bowls can be a really relaxing pastime - but you need to be prepared first

I have always admired the craftsmanship that went into turned wooden bowls so I was always a bit keen to try my hand at making one.

A little while ago I found a small wood lathe that was on sale for a ridiculously cheap price at my local hardware store.So I took advantage of the opportunity and immediately grabbed it.

When I got the lathe home and set it up, I first thought it prudent to at least look at some how to videos on line to figure out to do wood turning. Once I watched a few videos, I determined that I got the gist of it and got right to it.

I immediately put a small block of wood on the lathe, fired up it up and armed with a chisel, took a stab at making my first bowl.

It didn't go very well.

While I could make a real nice wooden cylinder on the lathe, I ran into some trouble in trying to make the "bowl" part of the bowl. When the chisel got caught by the spinning hunk of wood and was flung across the shop where it embedded itself into the far wall, it was time to call it quits.

I figured at that precise moment that perhaps I should do a bit more than watch videos before I tried that again.

Fast forward a couple of months I attended a day long wood turning workshop at one of my local woodworking stores where I was able to get some hands on training on how to properly turn a wood bowl. A really nice bonus was that I also able to come home with a really nice bowl that I made myself.

For anyone who wants to learn how to do any sort of wood turning, I really do encourage that you find a course like this in your area.

Sunday, August 19, 2018

Dremel - Praise and Lament


I'm usually not too married to a particular brand of tool, but a quick scan around the shop seems to have revealed that I have seemed to have collected more tools that have the word "Dremel" stamped on them than any other tool that I have.

Now I'm probably not what you would consider your typical Dremel user since none of those tools are the rotary tools that Dremel is famous for. I do have a rotary tool, though it is a very cheap no name brand.

Rather, I seemed to be attracted to Dremel's more specialized tools. A quick inventory of the shop revealed that I possess:

Thursday, August 9, 2018

Welcome!


It all started innocently enough... After becoming a new home owner many years ago, the need was to merely have a few simple tools around the house so that I can tackle those simple fixes that seem to pop up. 

Little did I know that those few tools would spark an addiction which 20 years later would have me taking on more ambitious projects, and along with it a growing collection of stationary power tools. 

During all this time I was still confined to a small corner of my basement as my "shop" since any potential budget for any expansion to my workshop going towards such things as kids and bills. Not to be deterred, I've had to be very creative in the use of my space - especially if you are building something like a desk! 


The purpose of this site is to act as a bit of a "How To"  archive of my build projects. 


The main idea to provide me with a guide if I needed to build a particular project again in the future, but I also wanted to provide others the opportunity to build something that they might find interesting here.  


My aim will be to post a project every month - I hope you enjoy them as much as I had building them!